Electro Capacitive Corne Keyboard
Posted on Feb 5, 2021
I started making mechanical keyboards about two years ago, and have made about five or six keyboards since then. I use “Polaris” mainly since last year, and I haven’t built a new one in about a year because it is so comfortable to use.
It’s been a while since I’ve made it, so I decided to build a new one and choose an electro capacitive keyboard because I’ve never used an EC keyboard before.
crkbd-ecwl
As of February 2021, I had two EC keyboard options: crkbd and helix.
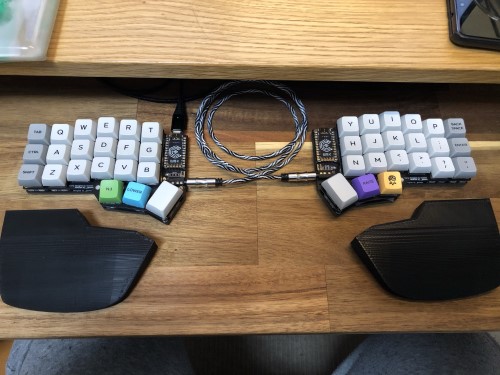
I picked the crkbd-ecwl because I did not have it while it is a famous 40% split keyboard. FYI, “ec” of the keyboard name stands for electro capacitive and “wl” stands for wireless.
build
I managed to build it by following the manual. I had some issues when making it, but the keyboard designer helped me a lot solve the problems.
switches
As of writing this, there were two options for the switch.
There is a big difference between the two: the former is the same size as the switches for mechanical keyboards (14.0 mm * 14.0 mm), but the latter is a bit larger (14.1 mm * 14.6 mm). The crkbd-ecwl switch plate I bought this time is only compatible with the former, so I made my own switch plate for the latter with a 3D printer and tried both.
The first one is NIZ, the second one is BTO.
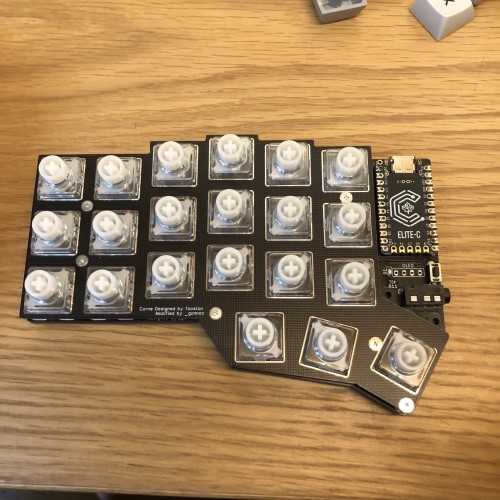
I would recommend the NIZ.
The BTO switches have a large gap between the switch cover and the stem, making them very difficult to type, much more so than the switches on Gatetron’s cheapest model.
impression
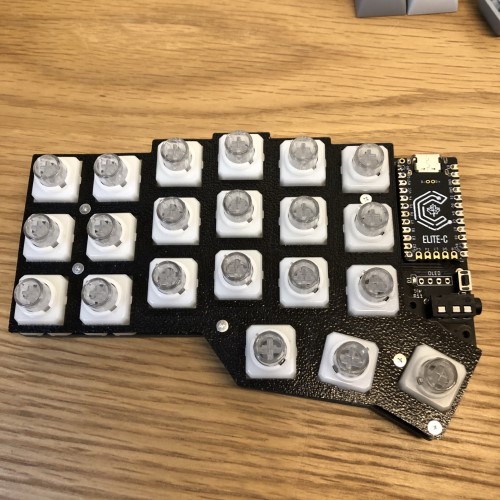
The key switches feel like silent tactile. The silicon domes used seems like making the switches very heavy with a strong tactile bump. I prefer a light switch, so I’ll try another silicon domes in the future.
The switches, silicon domes and springs are just sandwiched between the PCBs and fixed in place, so I can replace the switches without soldering them, which is cool. I can lube anytime afterwards.
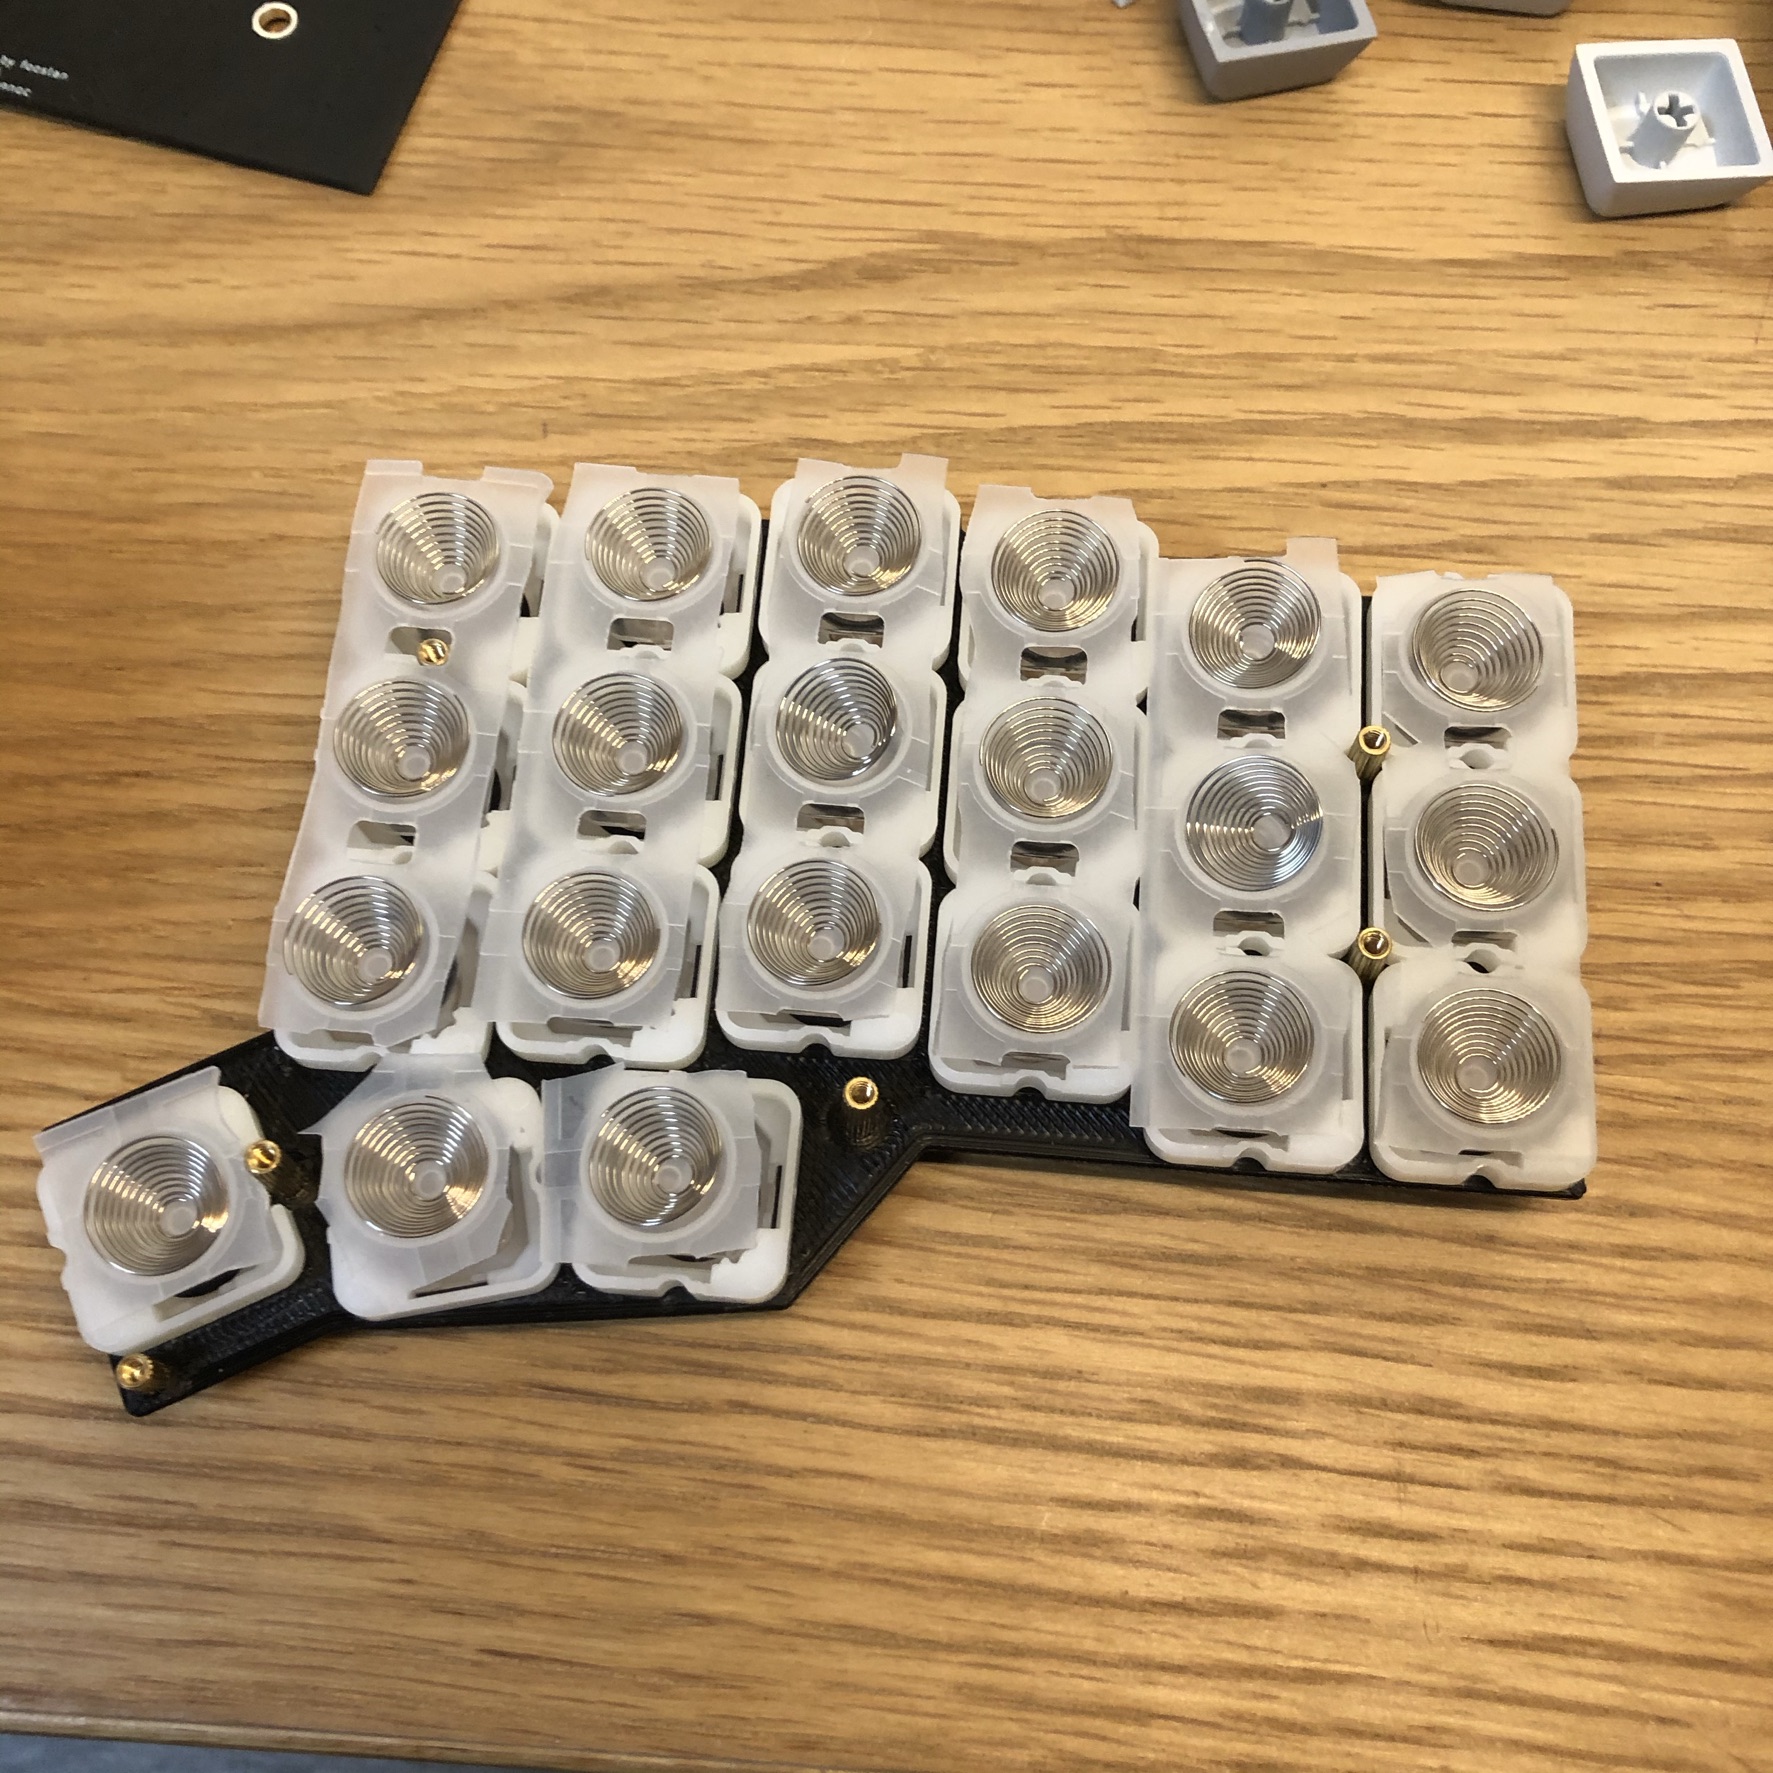
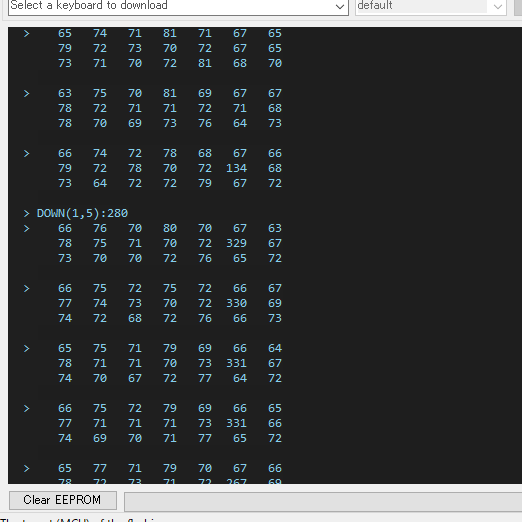
What I also found interesting is that I can adjust the operating point easily. Some keys didn’t work due to the spring conditions, so I lowered the operating point slightly from 300 to 275. I could decide the value by monitoring it using QMK Toolbox. You will see the logs like below. One of the switches showed over 300 because I pressed it.
So, I’m writing this article with the keyboard I made. To be honest, I’m not sure how good the EC keyboard is yet. I’ll judge it after using it for a while.
comments powered by Disqus